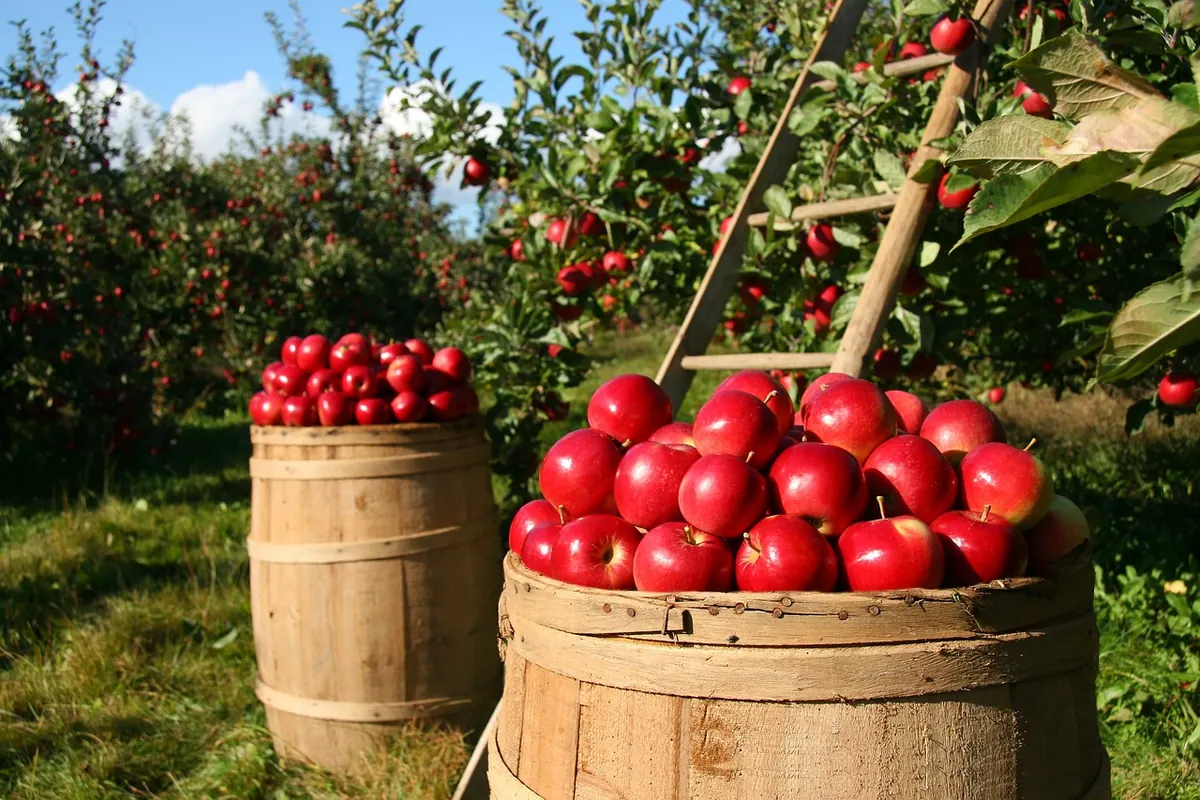
How to Build a Simple Rainwater Collection System for a Country Garden
There is a particular satisfaction in watching a summer storm roll across the fields and knowing that the water landing on your roof will end up on your tomatoes rather than in the drain. A basic rainwater collection setup is one of the few garden projects that pays you back immediately, costs very little, and can be finished in an afternoon with a saw, a drill and a handful of fittings. It does not need pumps, filters or a tank buried in the lawn. It needs a roof, a downpipe, a barrel that sits flat and level, and a little care over the details that keep the water clean and the whole thing safe.
Work out what your roof can give you
Before you buy anything, look at the roof above the downpipe you plan to use. A useful rule of thumb: one millimetre of rain falling on one square metre of roof yields roughly one litre of water. A modest shed roof of ten square metres will give you about ten litres from a passing shower, and a proper soaking of ten millimetres will fill a 100-litre barrel several times over. That is more than most gardens take from a single downpipe.
The covering matters too. Rain off slate, clay tiles, concrete tiles and most modern coated metal roofs is fine for beds, shrubs and lawns. Avoid collecting from roofs with lead flashing, from old asbestos sheeting, or from anything recently treated with a tar-based coating — that water is headed for the place you grow food. If you are unsure what your roof is made from, ask a roofer or a local builder before you plumb anything in.
Choose a container and a base that can take the weight
Water is heavy: a litre weighs a kilogram, so a full 200-litre barrel is a fifth of a tonne sitting in the garden. This is where improvised systems usually fail. A barrel on bare soil will sink and lean within a week; one balanced on four loose bricks will eventually go over. Build a base that is solid and level — a paved slab, a ring of dense concrete blocks bedded into sand, or a stand made for that capacity. Check it with a spirit level before you fill it.
Height is worth thinking about now. Every metre of drop gives a little pressure at the tap, so a stand of 30 to 60 cm makes filling a watering can much quicker than a barrel sitting on the ground. Anything taller becomes a climbing hazard and awkward to clean. Choose a barrel with a lid you can lift off, a threaded outlet near the base and an overflow port near the top. Food-grade or recycled plastic is fine; avoid containers that held chemicals, fuel or anything you cannot identify.
Divert the downpipe without ruining it
You have two options, and the simpler one is usually right. The first is to cut the downpipe above the barrel and fit a rainwater diverter — a small fitting that sends most of the flow into the barrel and lets the rest carry on down the drain once the barrel is full. These come in sizes to match standard round or square downpipe and slot straight in. The second is to leave the downpipe alone and run a short length of pipe from a rain chain or a sawn-off branch into the barrel, which suits sheds and outbuildings where appearance matters less.
Either way, fit a first-flush diverter or at least a mesh filter. The first rain after a dry spell washes dust, grit and bird droppings off the roof, and that is the water you least want sitting in storage. A filter basket over the inlet and a diverter that dumps the first few litres will keep the contents noticeably clearer.
Putting it together: the sequence that works
- Site and level the base. Clear the ground, bed the slab or blocks, and check for level in both directions.
- Position the barrel so the tap is easy to reach and the lid easy to lift.
- Measure and cut the downpipe with a hacksaw, leaving room for the diverter body.
- Fit the diverter following the maker's instructions, then test with a hose before the next rain.
- Fit the tap and overflow using the washers supplied, wrapping threaded parts with PTFE tape where the fittings call for it.
- Run the overflow away from the house — a length of hose to a flower bed or soakaway — so a full barrel never dumps water against your foundations.
- Cover the inlet with fine mesh to keep mosquitoes out, and secure the lid.
Getting the water where it needs to go
For most country gardens, a watering can is the whole distribution system, and that is fine. Fill it at the tap, carry it twenty steps, tip it on the courgettes. If you want to spare your back, run a short hose from the tap to a watering wand and let gravity work; at 60 cm of head the flow is slow but perfectly usable for a row of pots. Drain the hose before winter and keep it off the ground between uses.
Two habits make stored water go further: water in the evening or early morning so less evaporates, and water at the base of the plant rather than over the leaves. Rainwater is soft and free of the chlorine in tap water, which makes it especially welcome for seedlings, blueberries and anything growing in a container.
Safety basics worth taking seriously
- Secure the lid. An open barrel is a drowning risk to small children and pets, and a mosquito nursery. A clipped or screwed lid is not optional.
- Keep it stable. Never stack barrels, never perch one on a wobbly stand, and never let children climb on the base.
- Don't drink it. Roof-collected rainwater is for the garden. Wash your hands after handling stored water or silt.
- Check your local rules. Rules on downpipe diversion and water storage vary by country and region, and rented properties may need the owner's agreement. A quick call to your local authority settles it.
- Watch the overflow in winter. Clear it before the wet season, and drain the barrel before hard frost if your area freezes.
The best rainwater systems are dull: a clean filter, a tight lid, a clear overflow and a barrel that has not shifted in ten years.
Maintenance through the year
A rainwater system needs about ten minutes a season. In spring, lift the lid and scoop out leaves and silt from the bottom — a plastic dustpan works well. Clear the mesh filter and the gutter above it; a blocked gutter is the most common reason a barrel stays empty. After the leaves fall, check the diverter and overflow again. If the water starts to smell or turn green, empty and rinse the barrel, keep the lid on to exclude light, and use that batch on established shrubs rather than on salad crops.
A small system that gets used beats a big one that doesn't
Start with one barrel on one downpipe and see how you get on. If you find yourself emptying it every fortnight in high summer, link a second barrel with a short pipe at the base — water finds its own level, and your storage doubles for the price of a fitting. If it sits full and untouched, you have learned something useful: the garden does not need that much, and one barrel is plenty.
The point is not to build anything clever. It is to notice the rain arriving, catch what you can, and put it on the beds before it runs down the road.
Photo: lumix2004 / Pixabay

How to Create a Pollinator-Friendly Wildflower Patch in a Country Garden
A practical guide to planning, preparing, sowing and tending a wildflower patch that feeds bees and...

Understanding Rural Waste and Recycling in Italy: A Practical Explainer
A practical guide to rural waste in Italy: how local collection works, what goes in each bin, using the...
About Us